Sending Messages by Criteria
You can now send messages in goHappy by selecting criteria instead of manually choosing individual contacts. This new option allows your recipient list to update dynamically based on contact data at the time your message is sent—perfect for future scheduled messages.
With criteria sends, you can now schedule messages up to 12 months in advance — goHappy will automatically send to your latest matching contacts at send time, capturing any staffing changes in between.
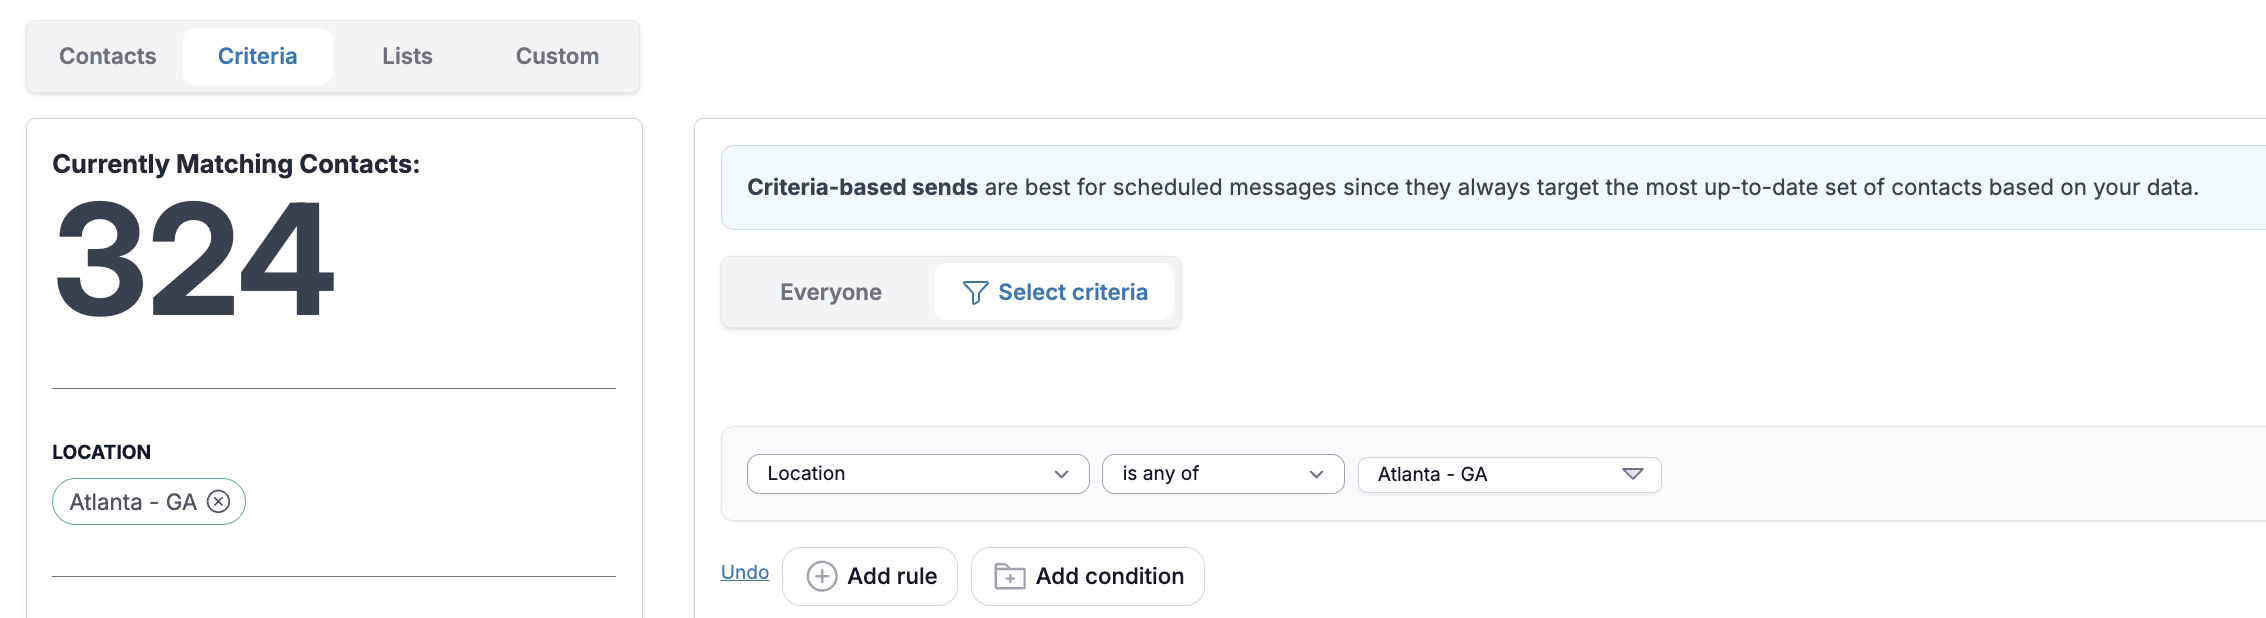
✅ Tip: Criteria-based sends are best for future messages since they always target the most up-to-date set of contacts based on your data. Your message will always go to everyone who matches your criteria, including any new hires added before it’s sent.
Step 1: Choose How to Select Recipients
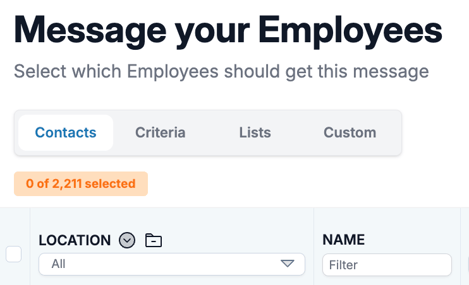
When creating a new message, you’ll see two options under the contact selection step:
-
Contacts – Select individual people, just like before.
-
Criteria – Build a set of rules to define who should receive your message.
Step 2: Build Criteria
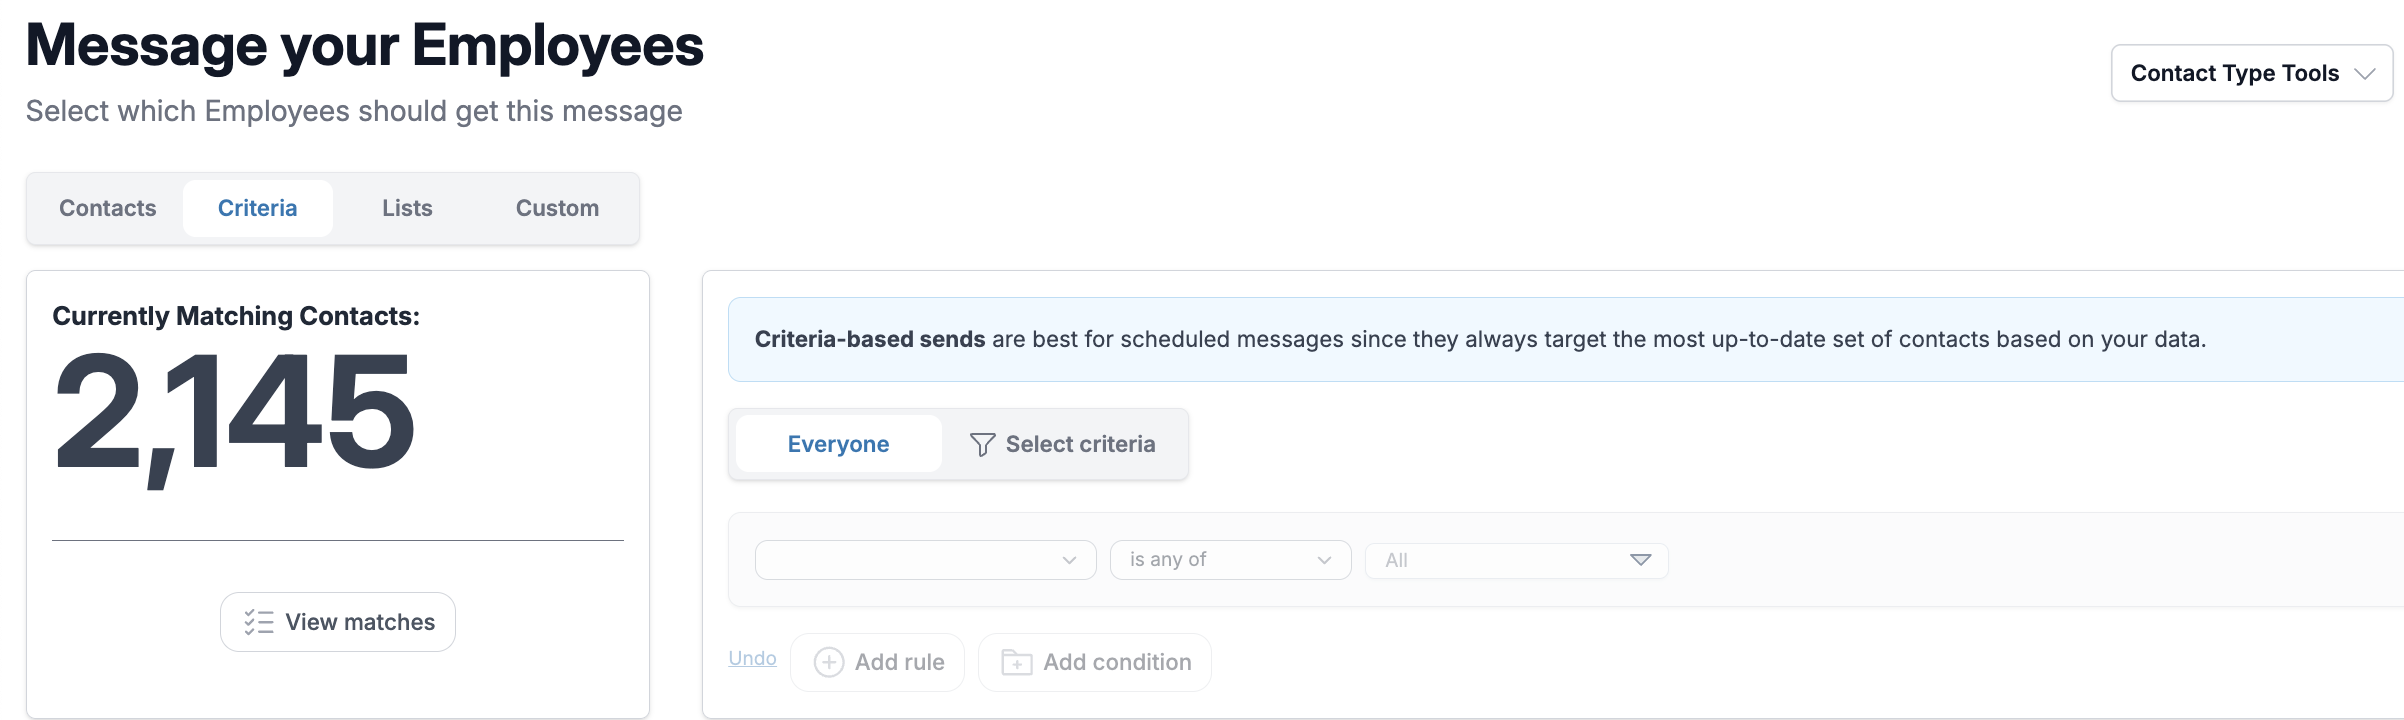
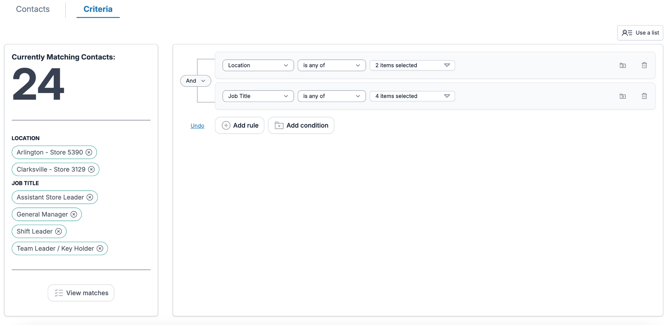
Under the Criteria tab, you can easily message everyone or you can create logic using your available contact fields (like Location, Job Title, or Preferred Language) to determine who should receive your message.
You can:
-
Combine multiple filters using AND or OR logic (see our Building Criteria article for details).
-
View your currently matching contacts at any time—this number updates automatically as you add or remove rules.
-
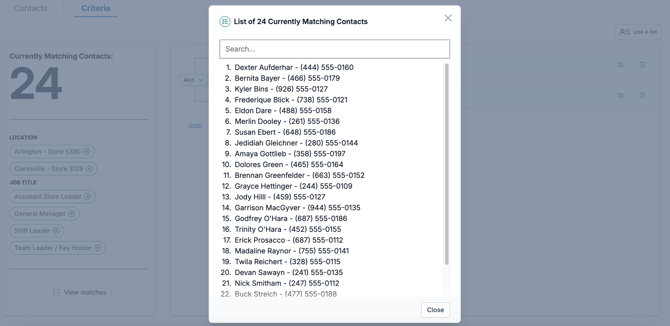
Click View matches to see the list of matching employees.

If you later click Edit Recipients from the compose screen, you’ll return to the Criteria tab, where you can adjust or refine your criteria.
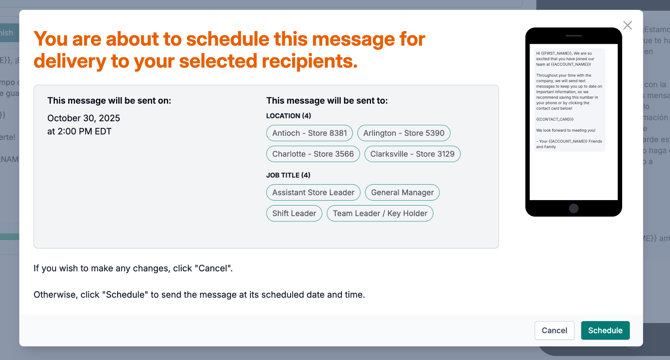
Step 4: Scheduling a Message
Messages built using criteria are ideal for scheduling. When you schedule a message, goHappy will automatically include all contacts who match the selected criteria at the time the message is sent.
This means:
-
Newly added employees who meet the criteria will receive the message.
-
Employees who no longer meet the criteria will be excluded.
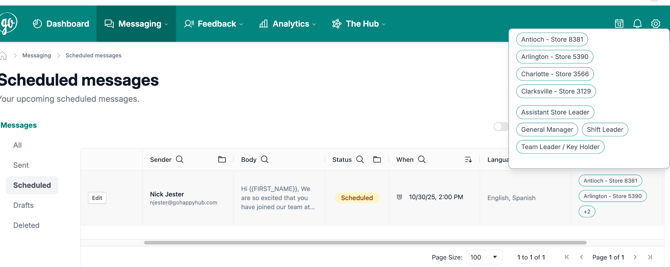
Step 5: Reviewing Scheduled Messages
Your Outbox (Scheduled Messages) page will show all criteria applied to each scheduled send. You can edit the criteria before the message goes out if needed.
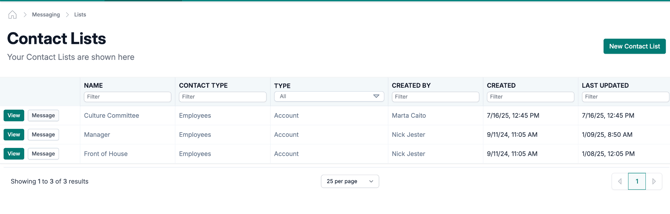
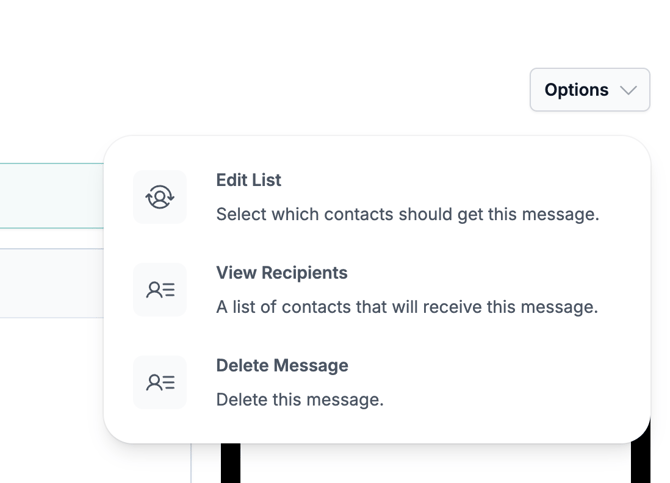
Step 6: Editing Lists for List-Based Sends
If you send a message directly from a contact list, selecting Edit List from the compose screen will open that list for editing.
Any scheduled messages tied directly to a contact list will automatically use the most recent version of that list when the message is sent.